


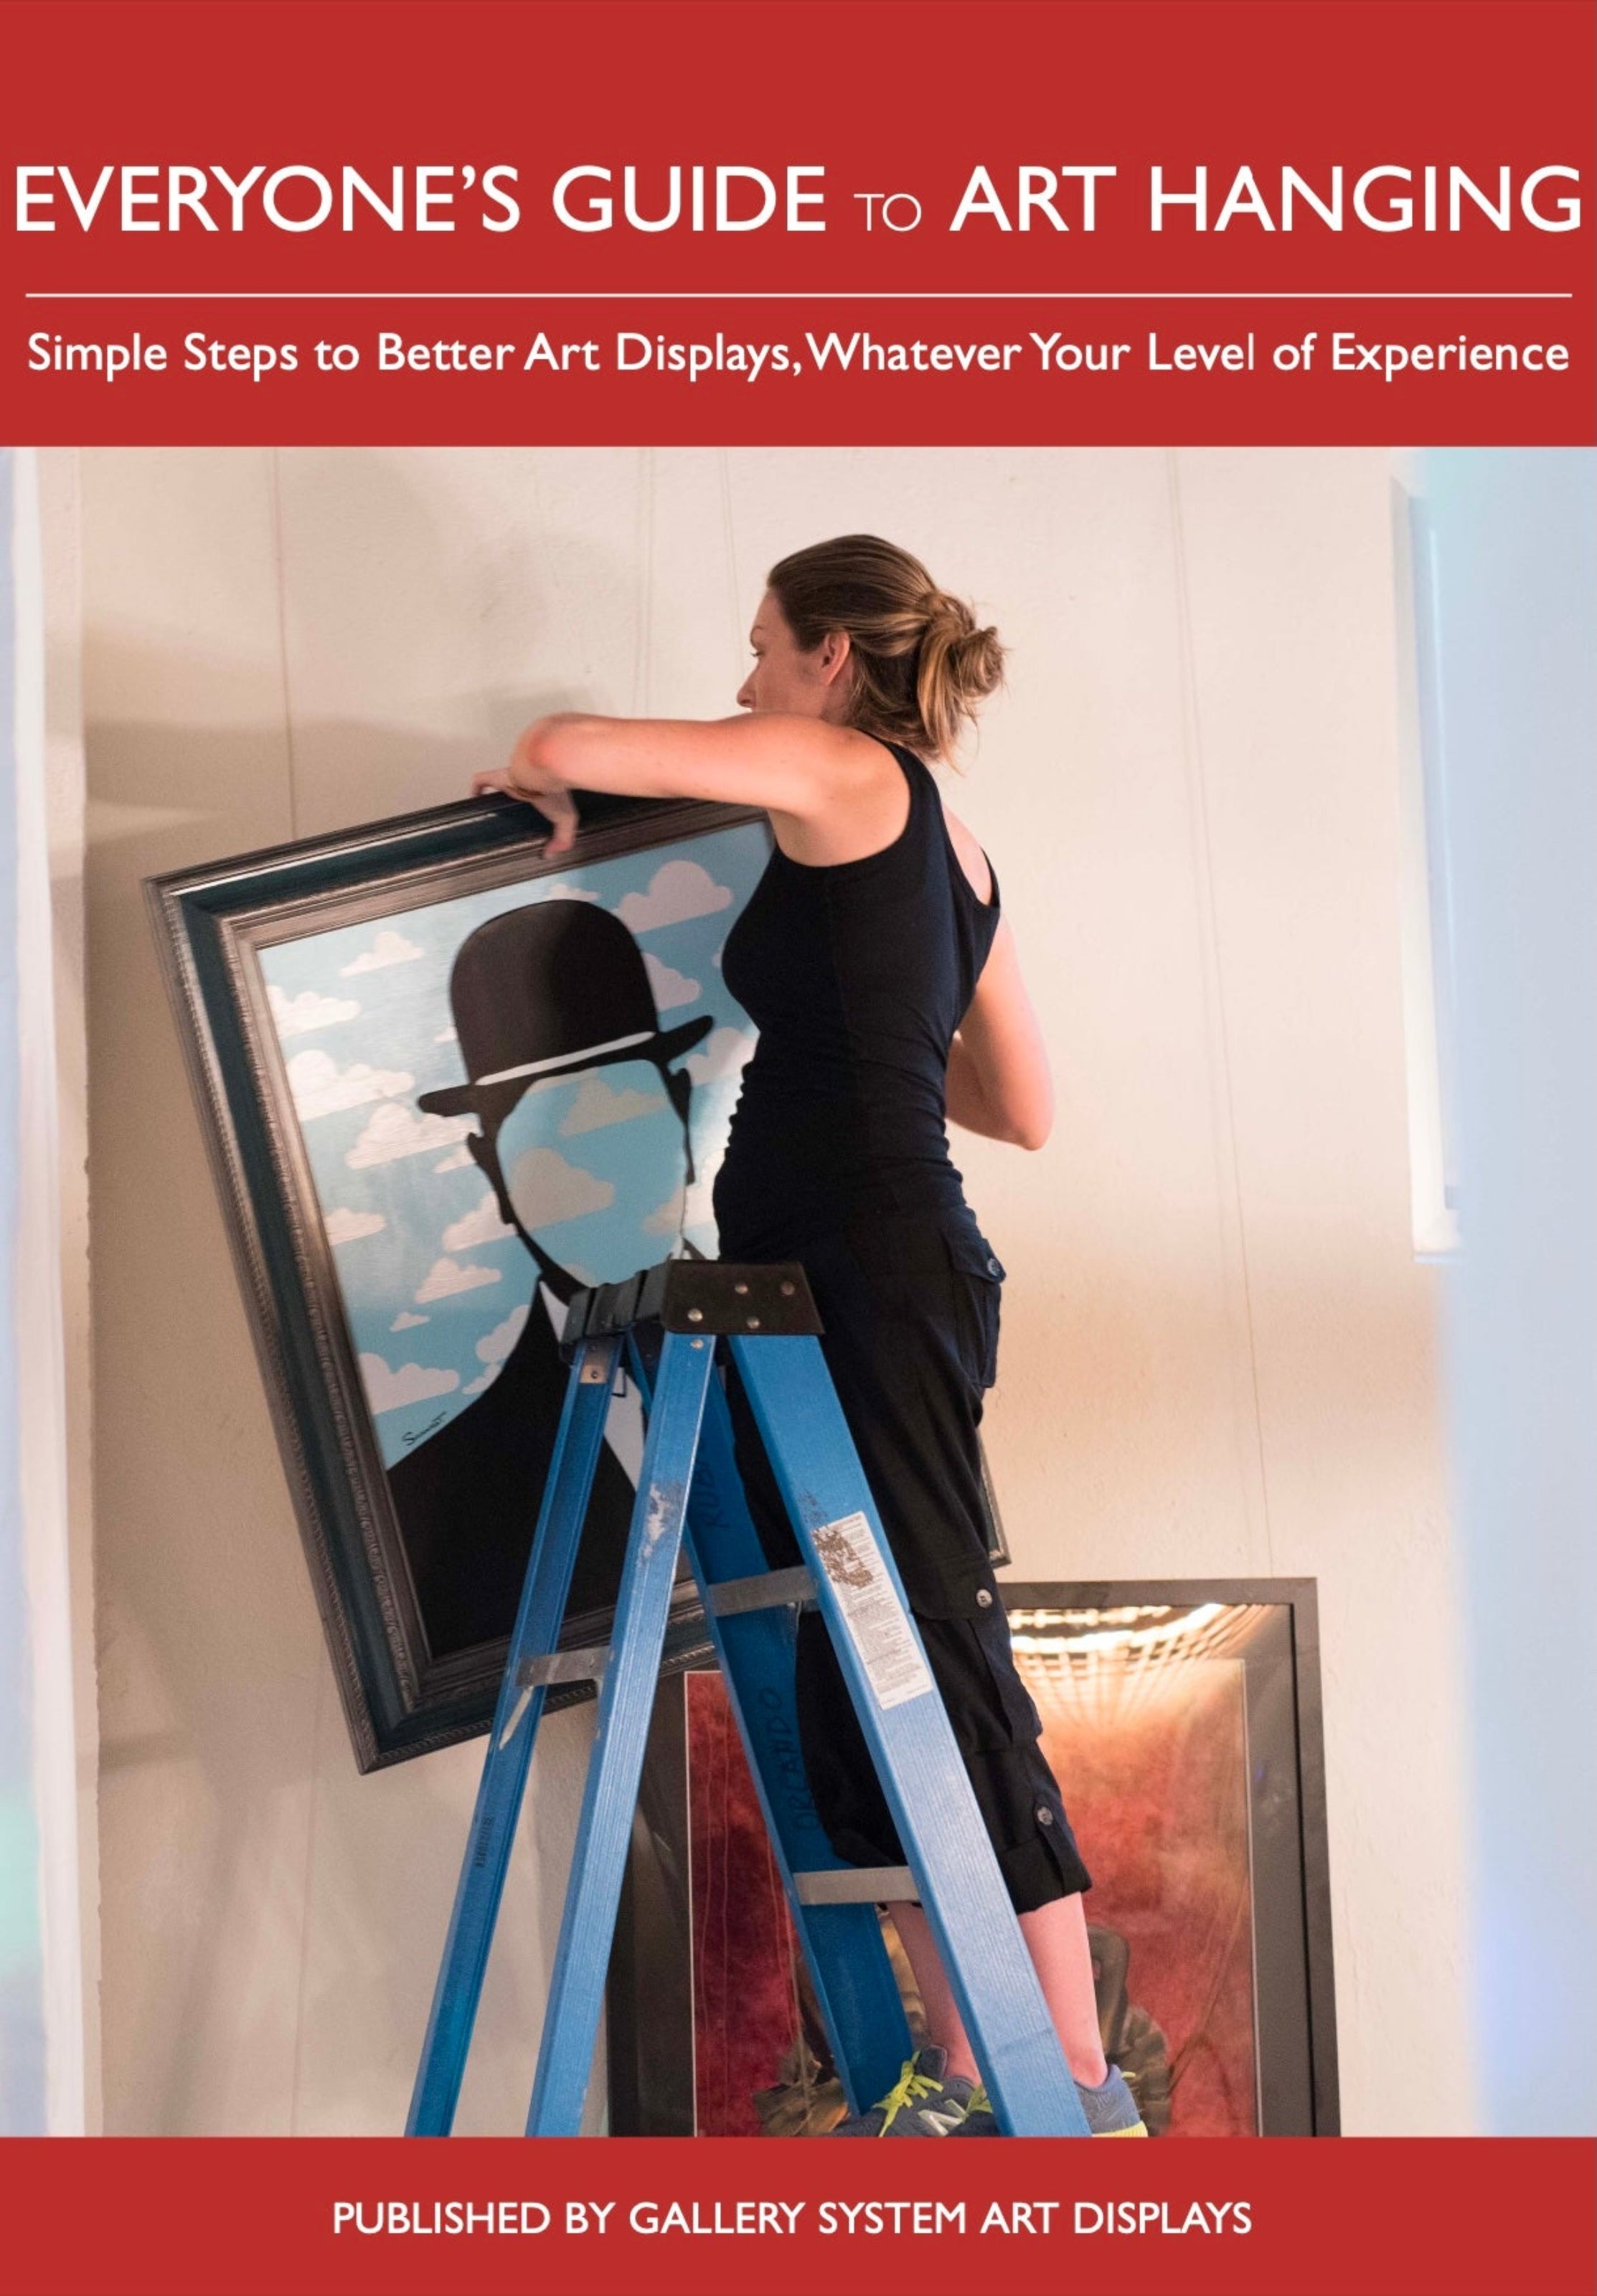
Installation & Setup of Our Picture Hanging Systems, Art Lighting, and Picture Rail Hooks
Get detailed installation instructions (print and video) via the links below, or scroll down for information on questions like installing on curved walls or in stairways, hardware selection, and painting Gallery System wall tracks.
Need more help? Use our simple Contact Form, email info@gallerysystem.com, or call us at 1-800-460-8703.
GalleryOne
GalleryOne Instruction Manual
PDF of installation instructions for GalleryOne picture hanging systems
GalleryOne Installation Video
Video overview of installation and use procedures for GalleryOne picture hanging systems
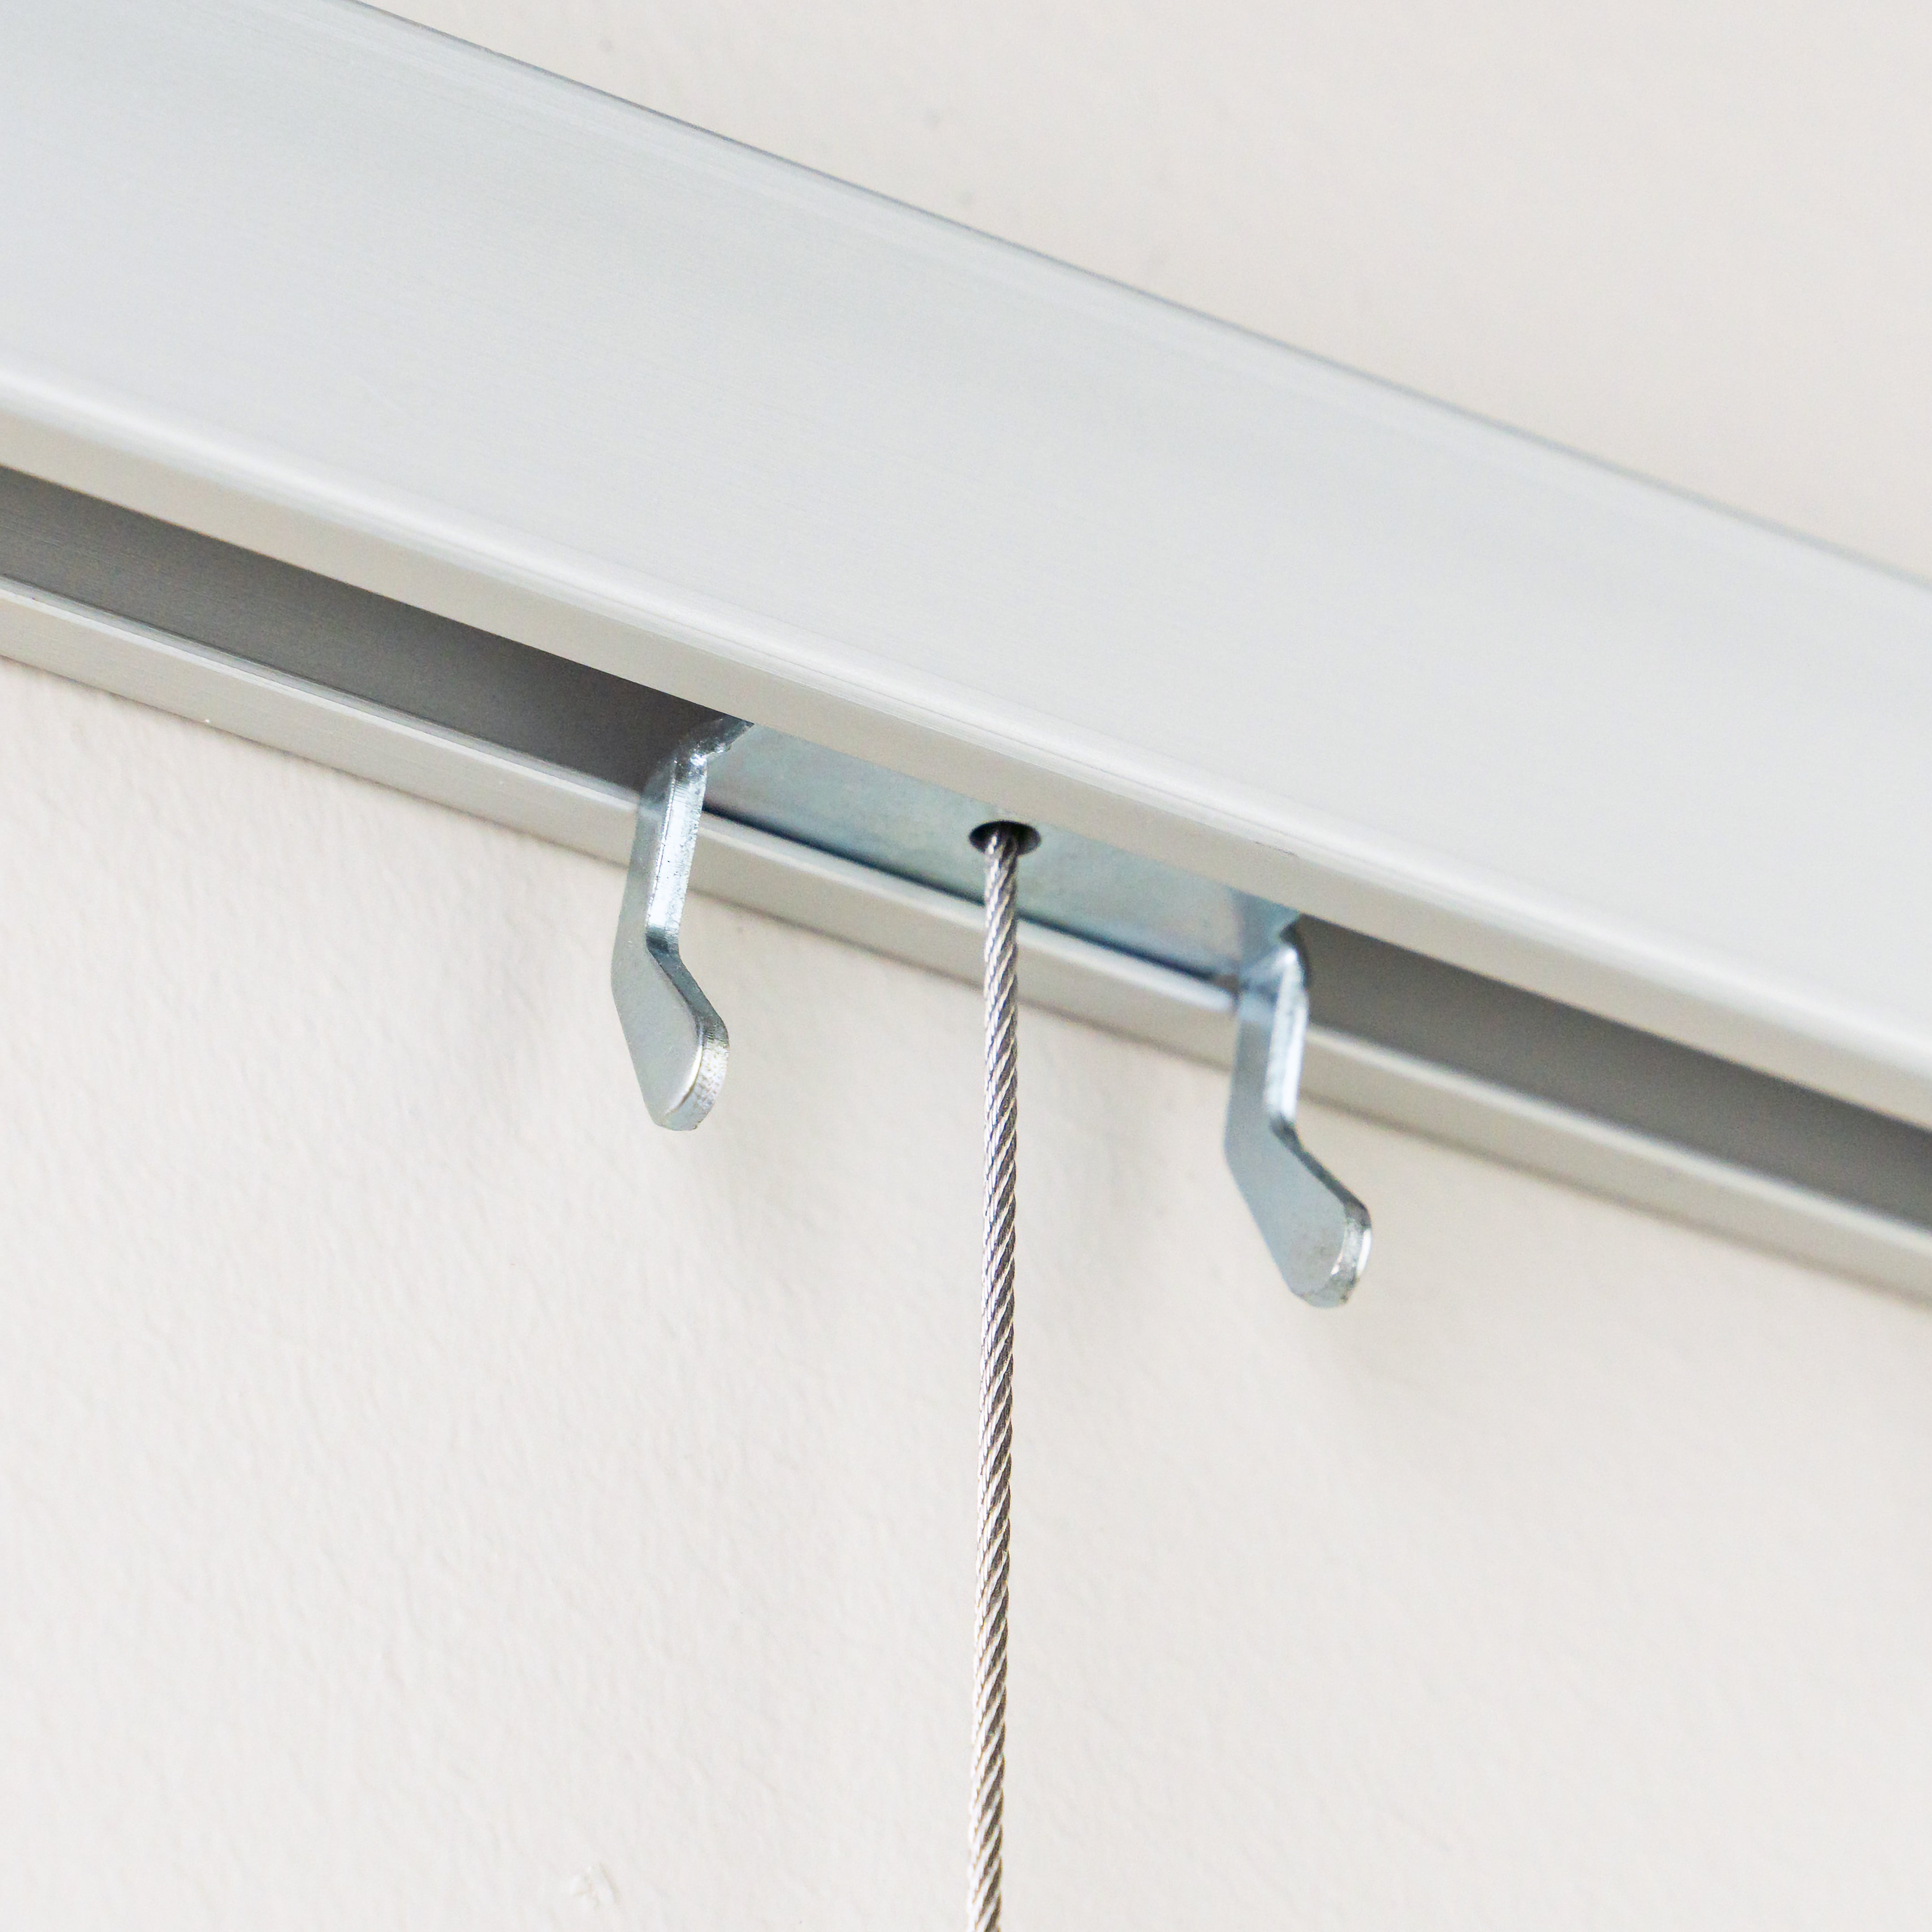
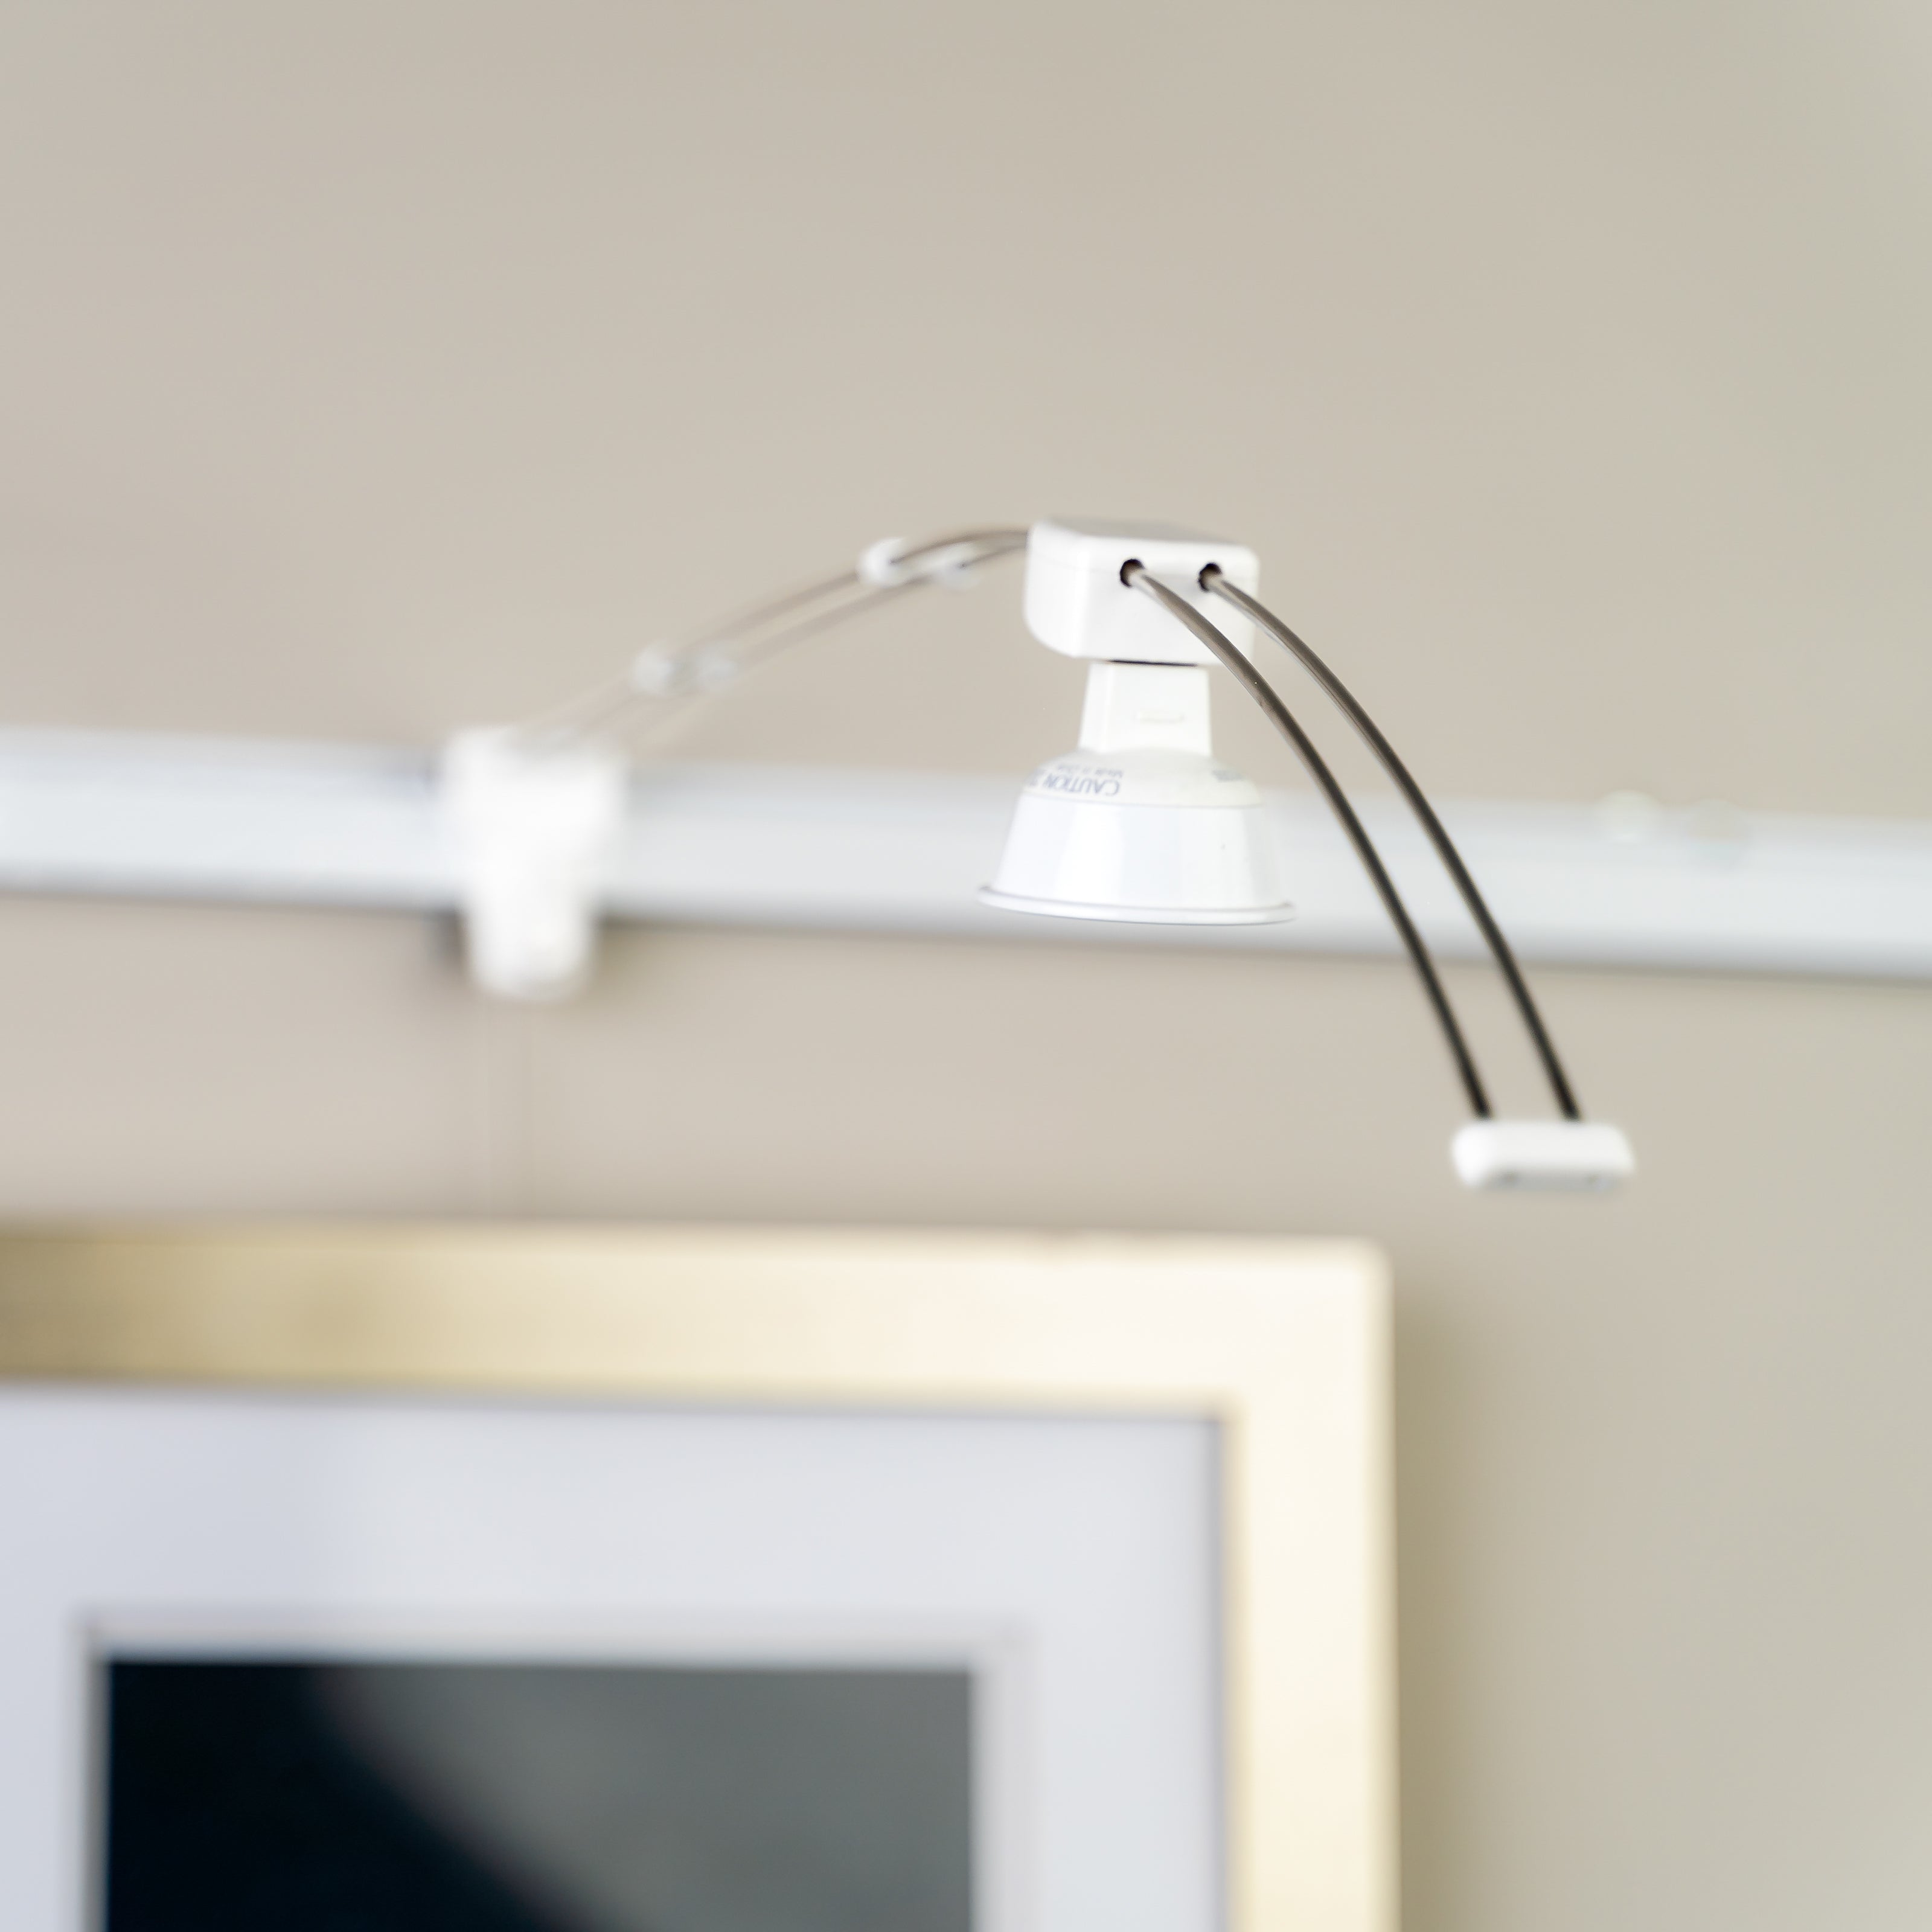
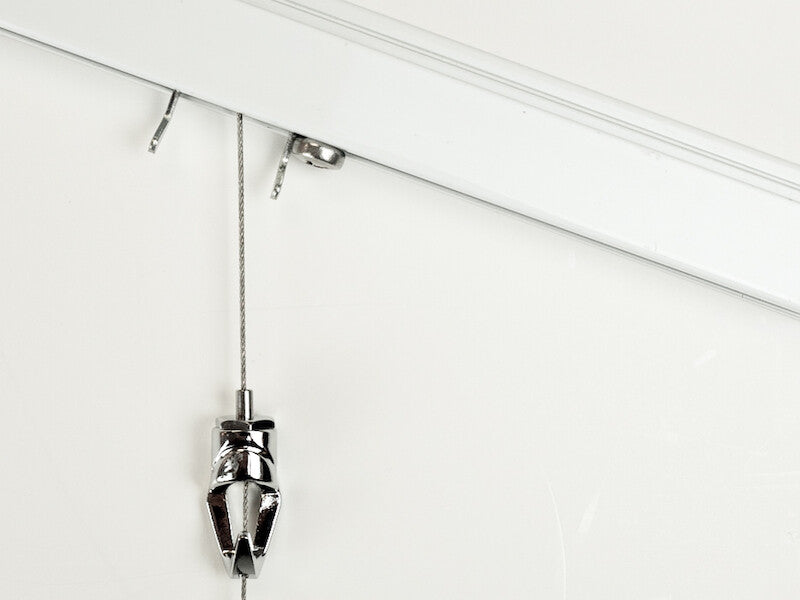
Original Gallery System + Art Lighting
Original System Instructions
PDF of installation instructions for Original Gallery System hanging systems
Original System Video
Video overview of installation and use for Original Gallery System art hanging systems
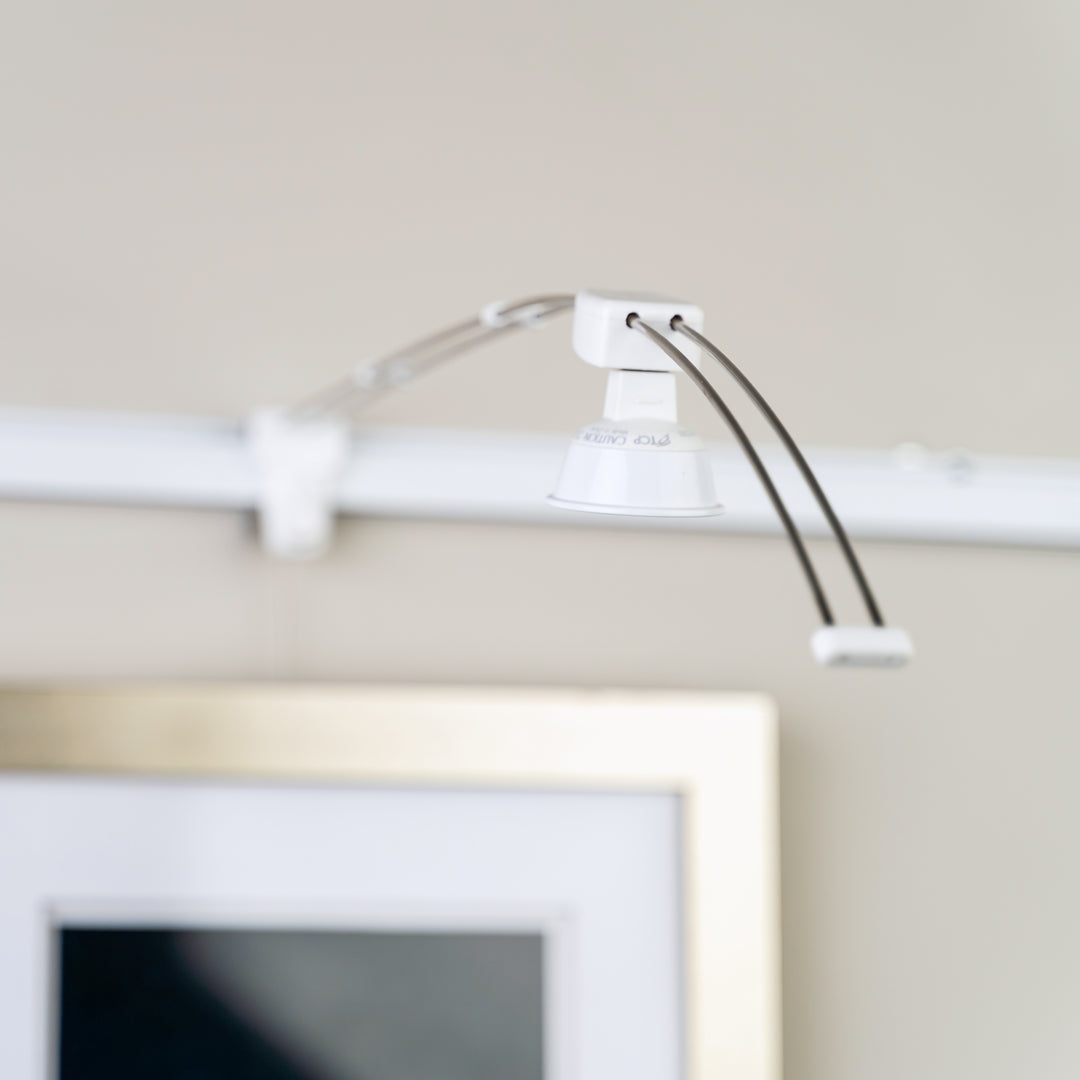
PowerPack Lighting Manual
PDF of instructions for Gallery System PowerPack (65-watt) art lighting equipment
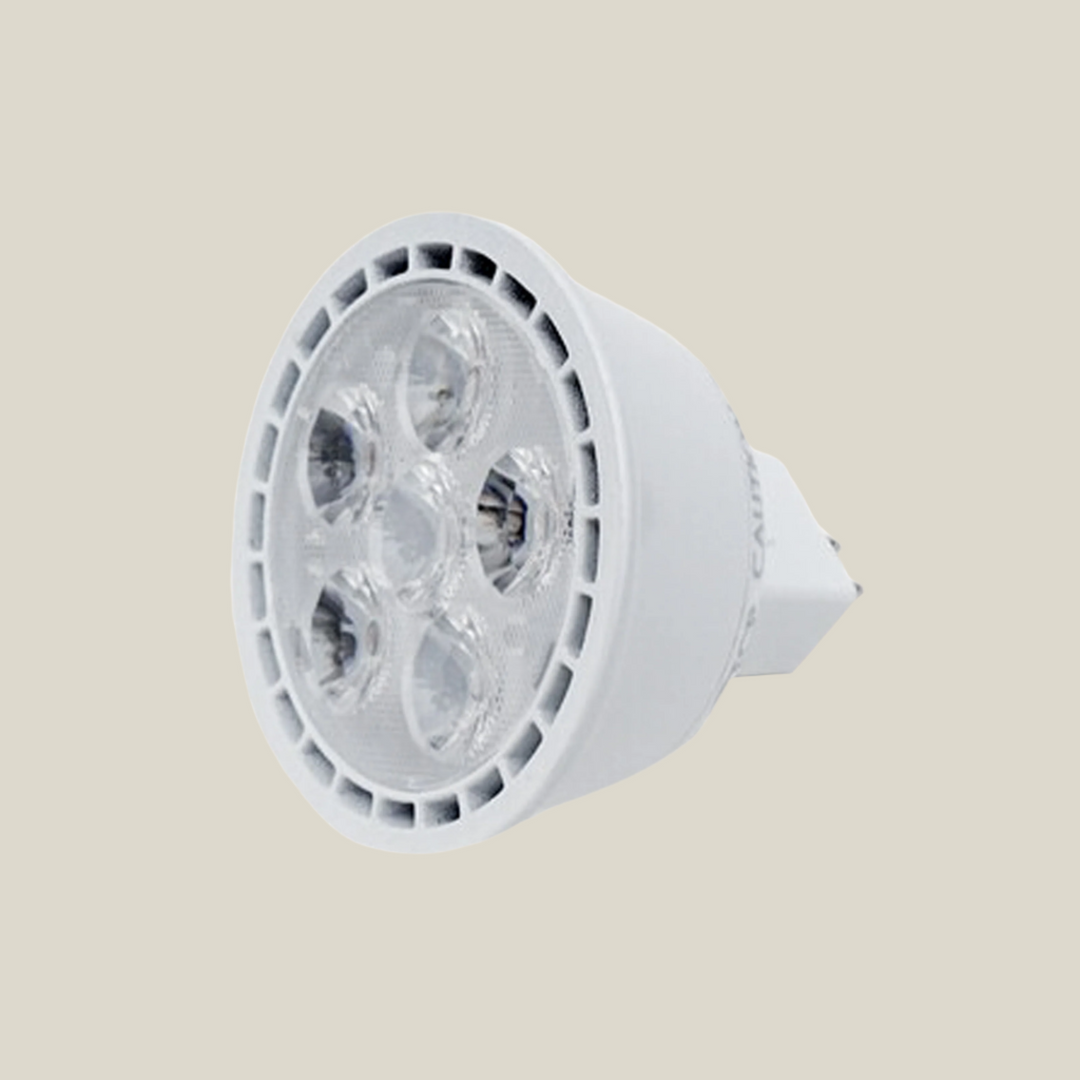
300-Watt Lighting Manual
PDF of instructions for Gallery System Custom Lighting (300-watt) equipment
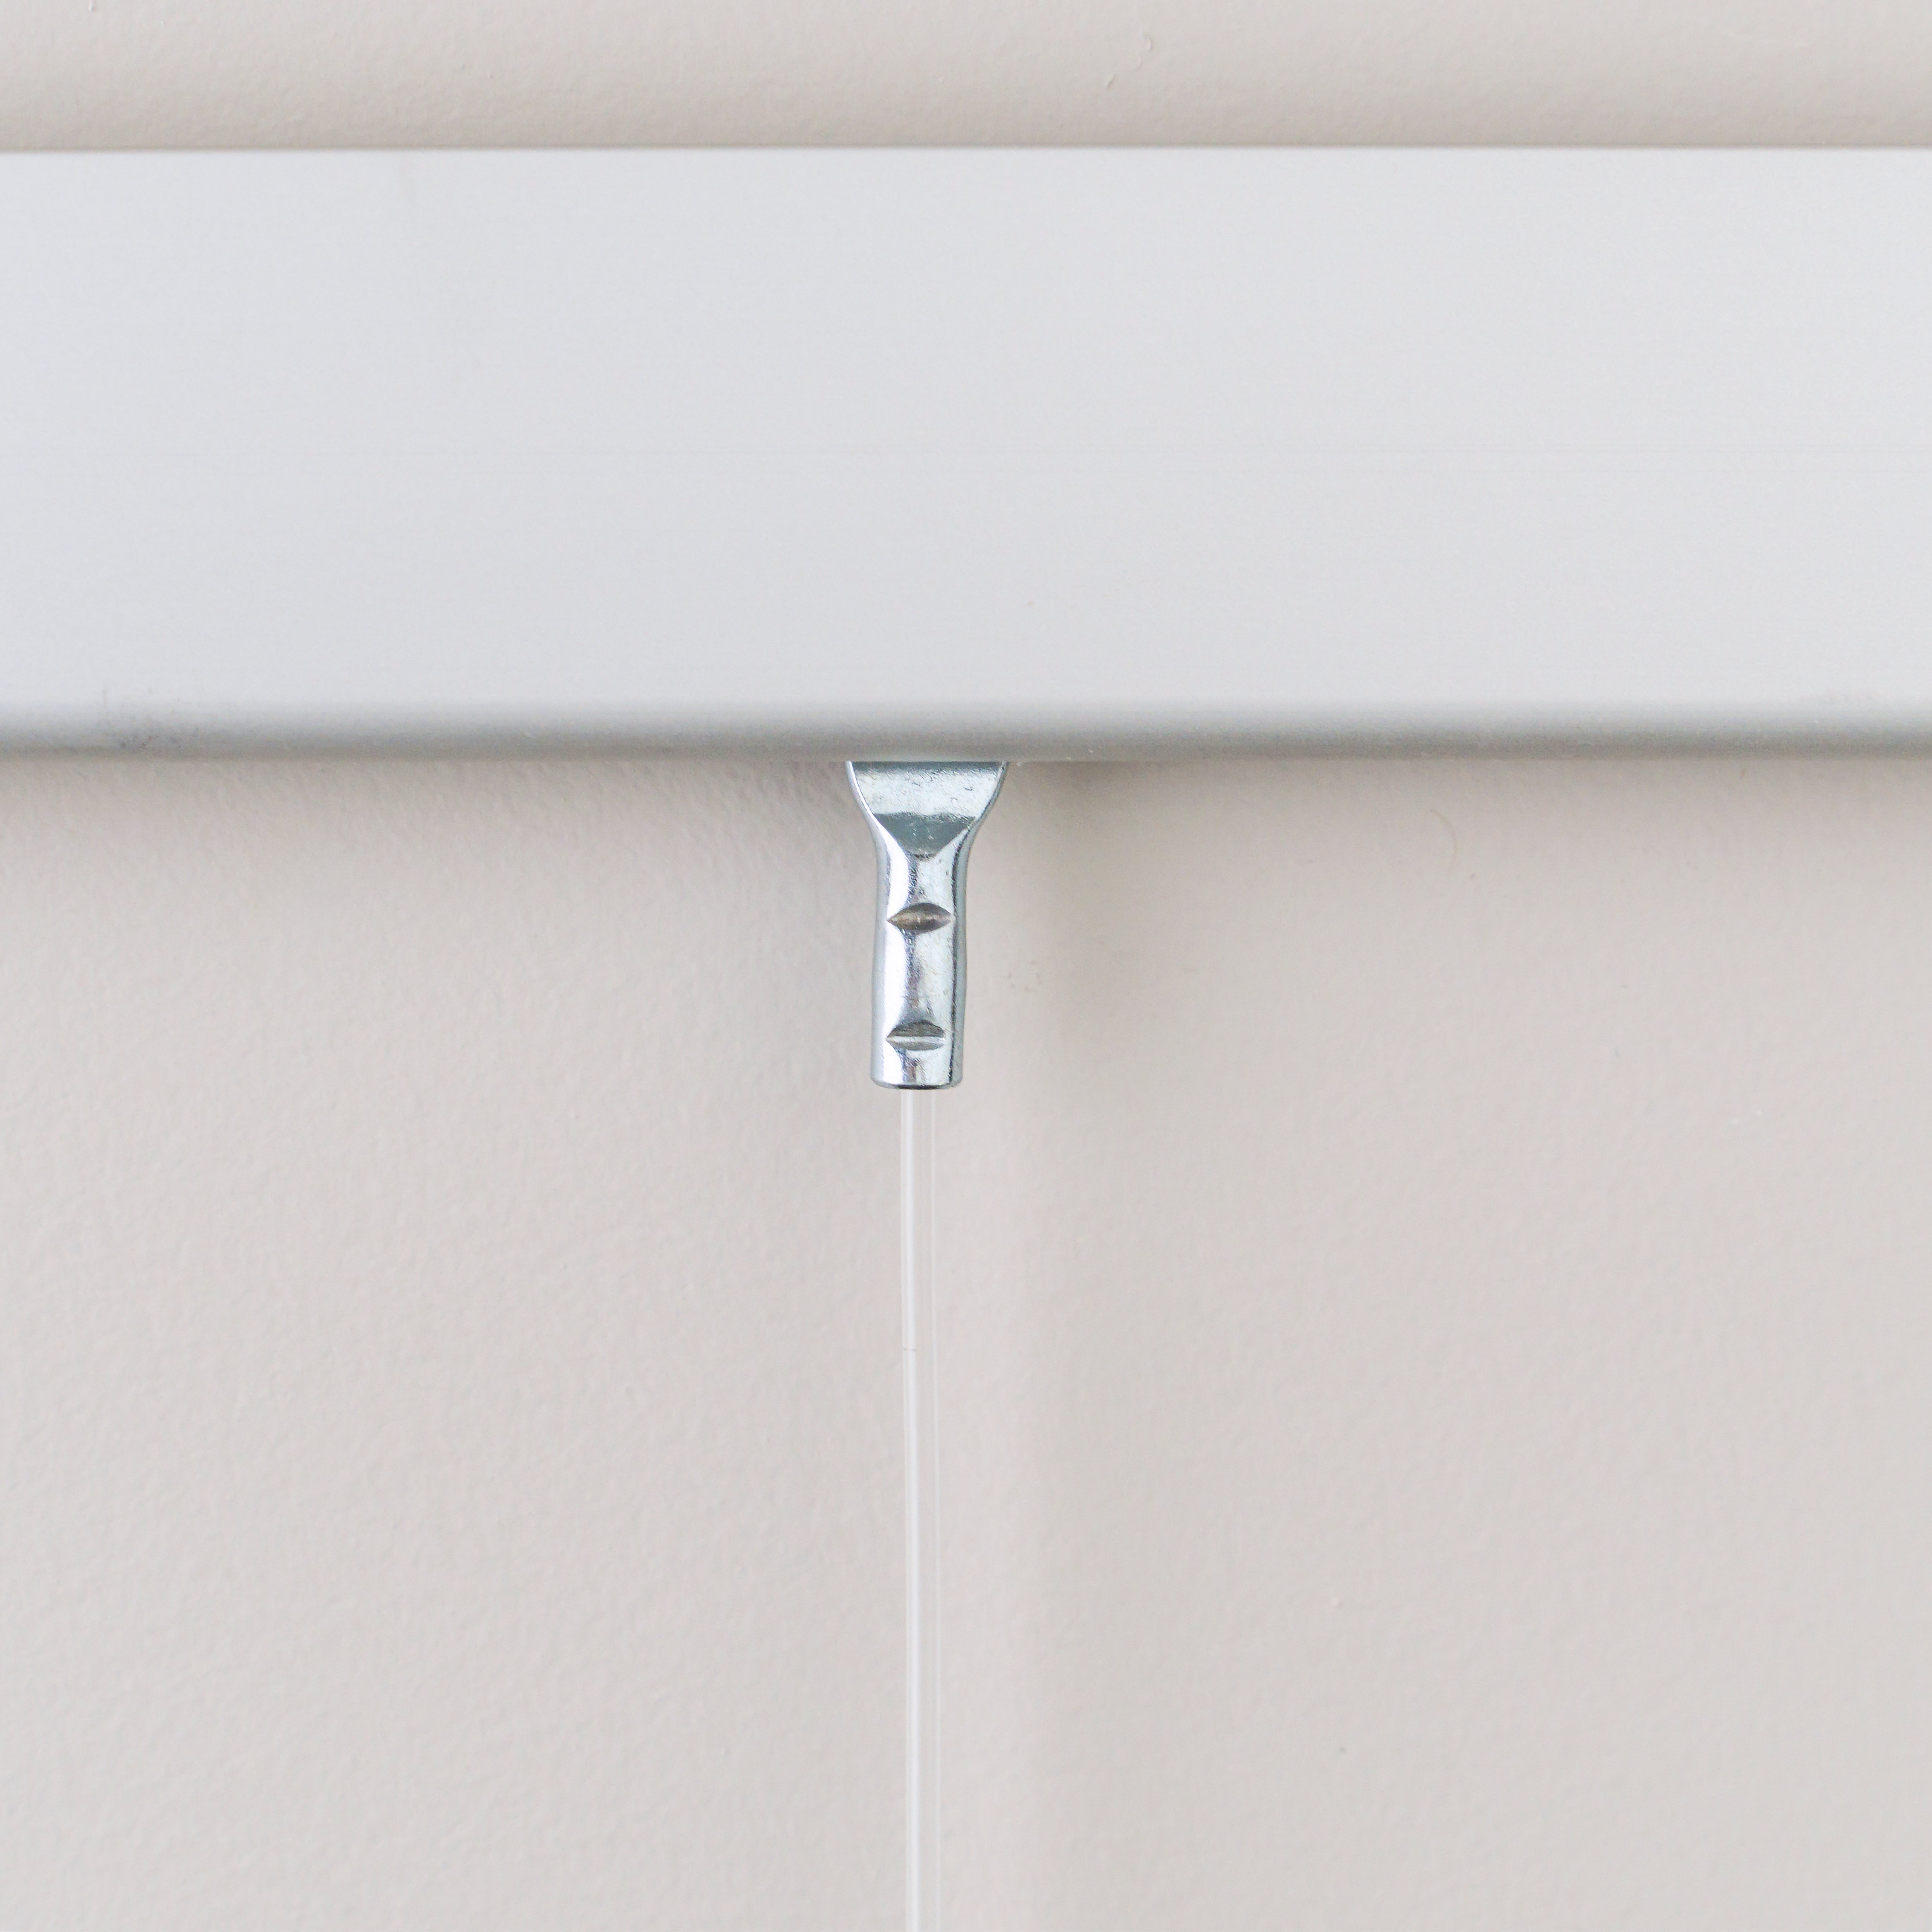
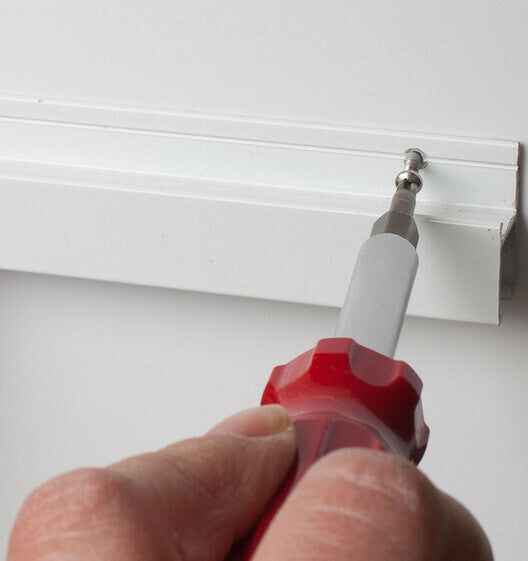
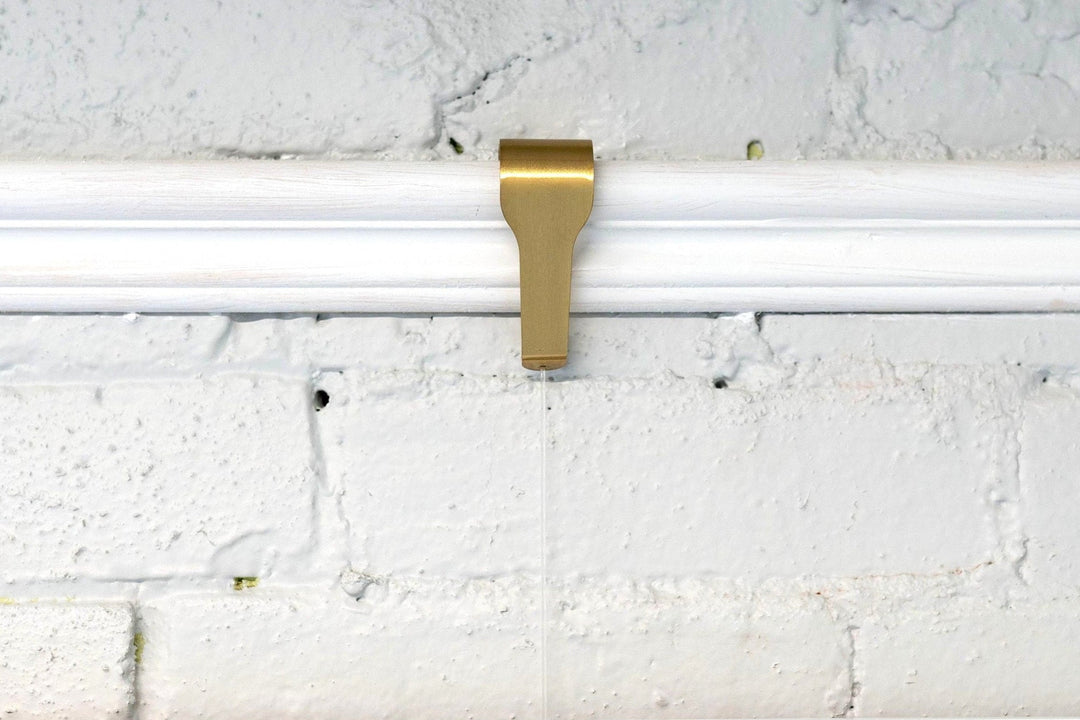
Picture Rail Hooks & Hangers
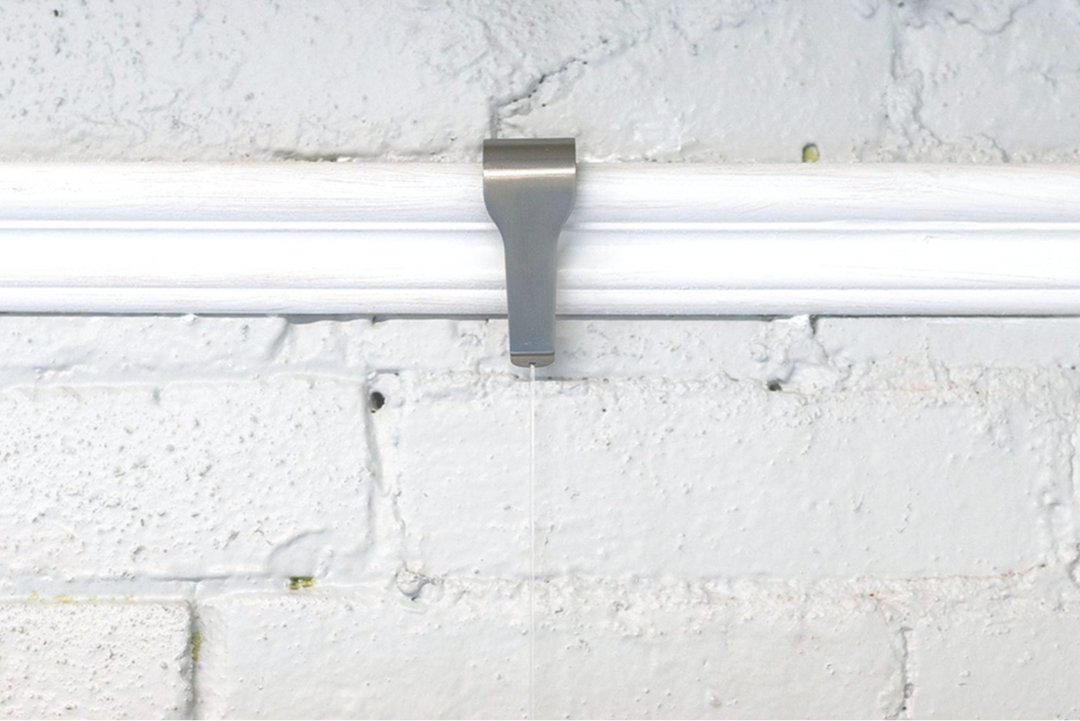
Picture Rail Instruction Manual
PDF of installation instructions for Gallery System picture rail molding hangers
Picture Rail Setup Video
Brief video overview of setting up Gallery System picture rail hooks and hangers
Accessories & Application Notes

Installing Wall Tracks on Curved Walls
Our Original Gallery and GalleryOne systems are compatible with curved walls
Stairway & Angled Ceiling Installations
The Original Gallery System can be easily adapted for use at an angle

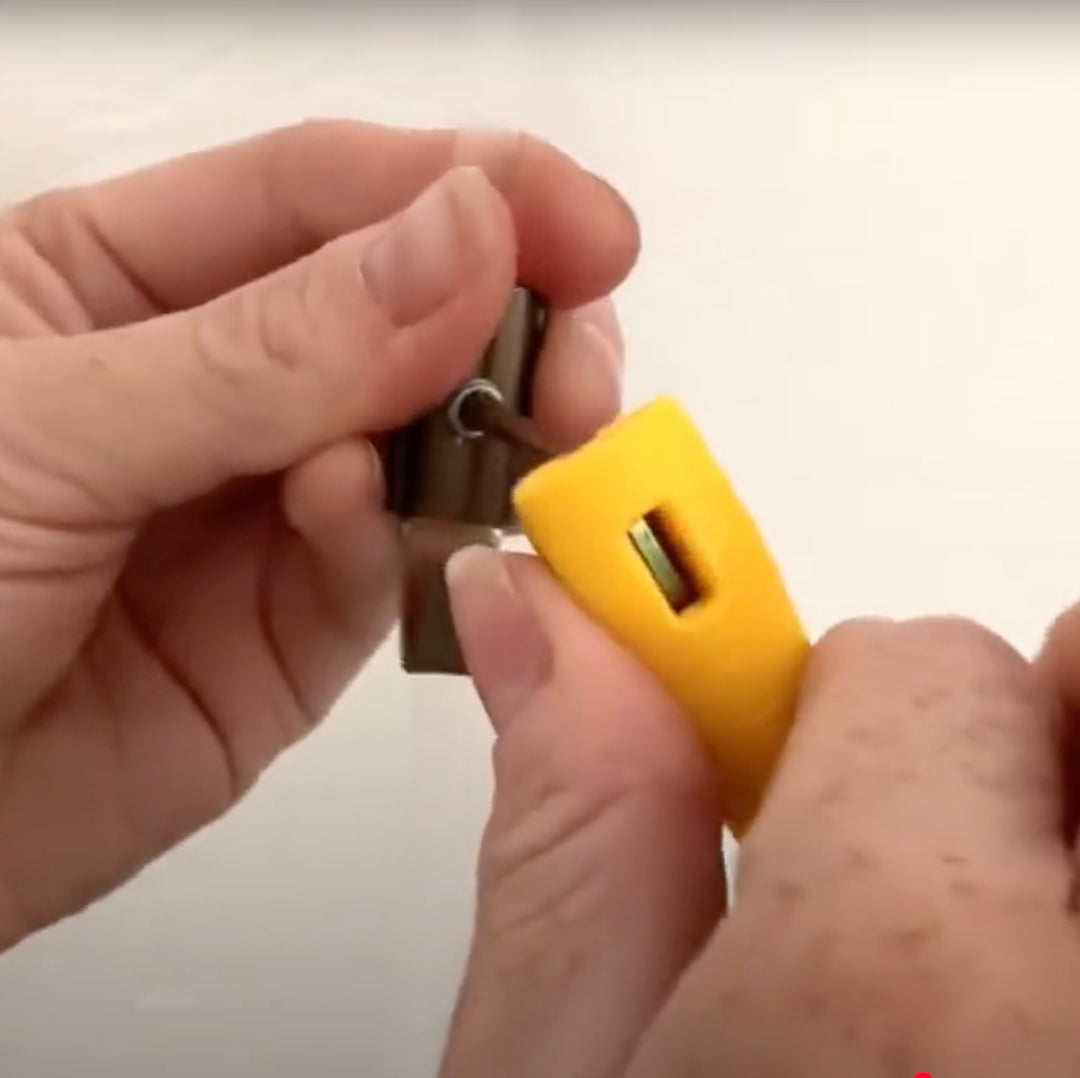
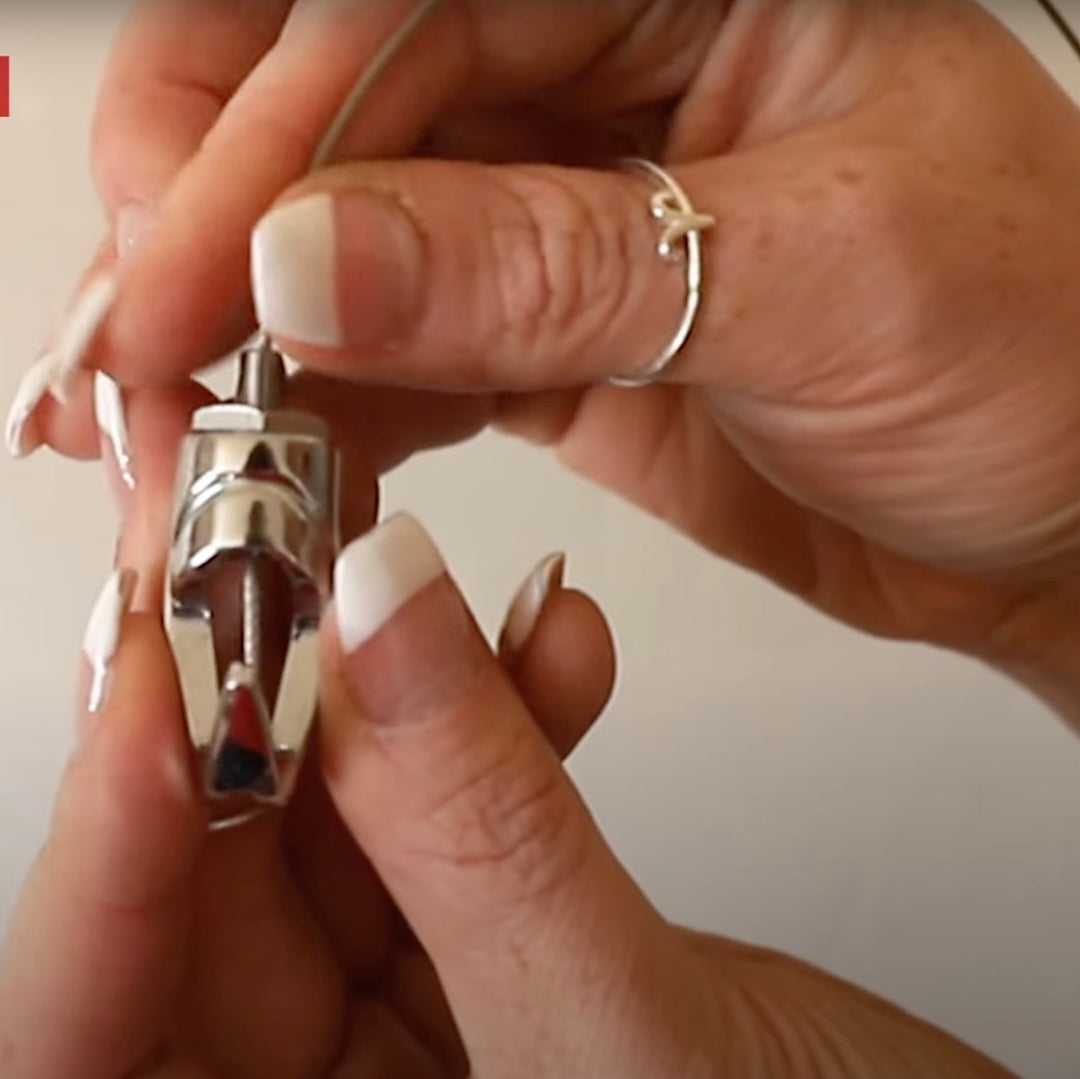
Art Hanger Clip Instructions
Directions for installing Art Hanger Clips on wood or metal frames
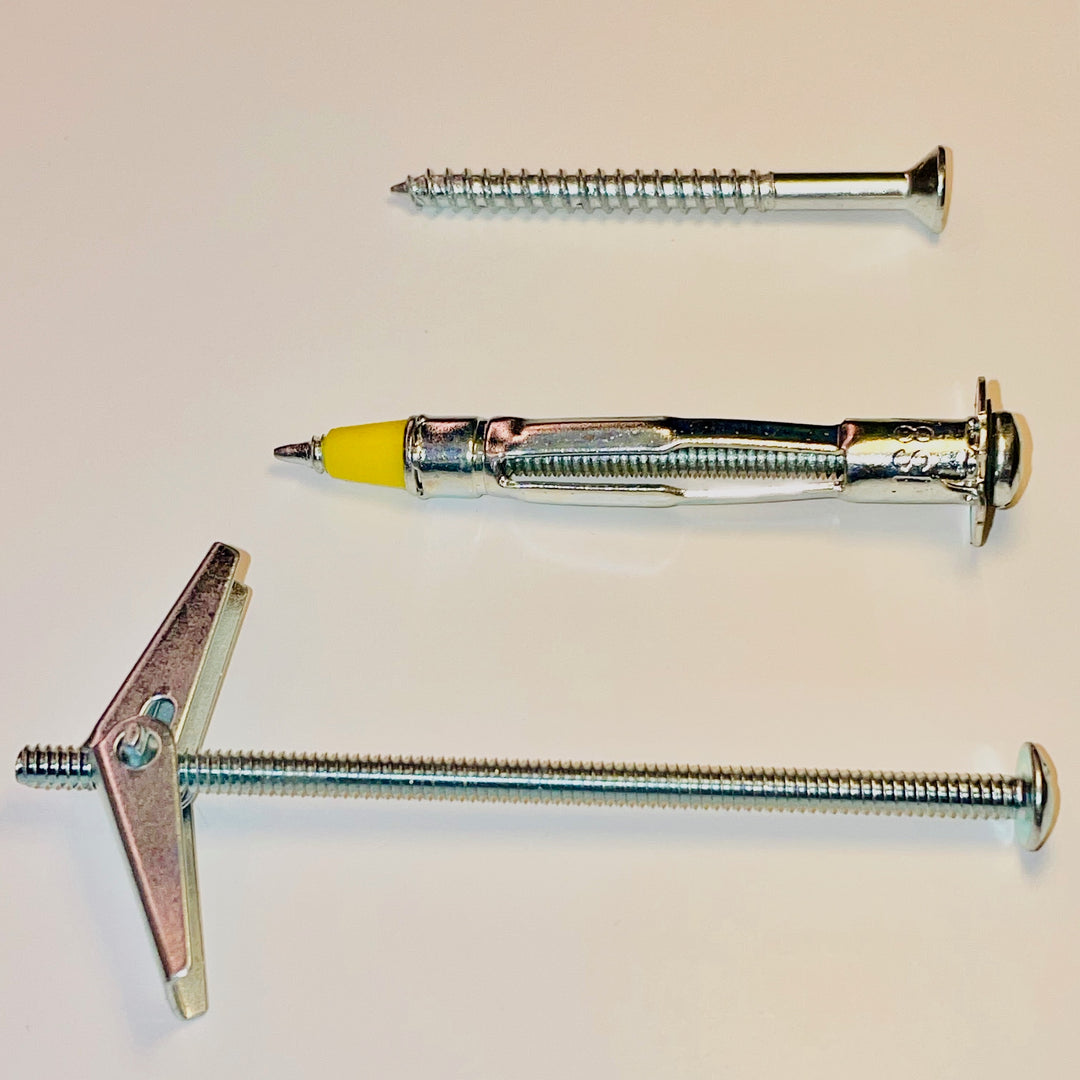
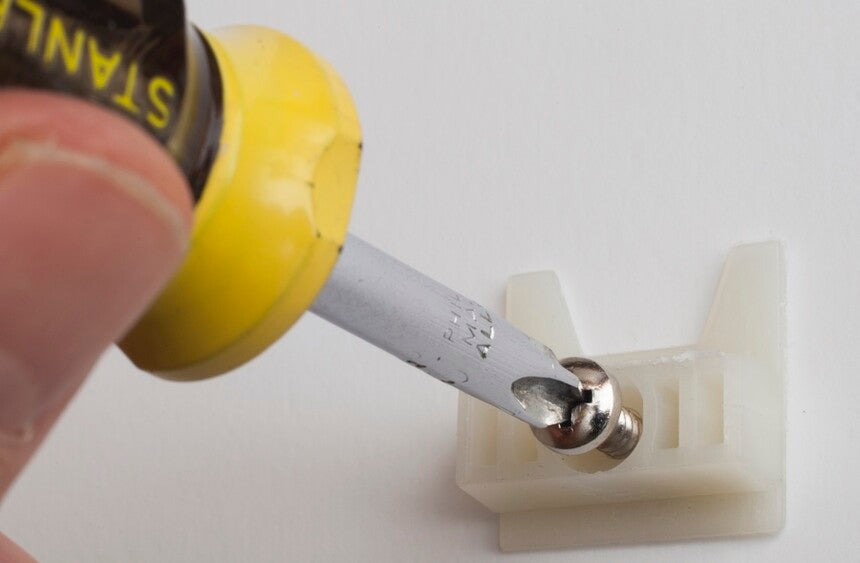
Which Fasteners Are Right For Your Wall?
How to select the right fasteners for your Gallery System installation

Get The Best Results When Painting Your Wall Tracks
Wall tracks can "disappear" when painted to match your walls