Using Clear Tape Hangers: Original Gallery System
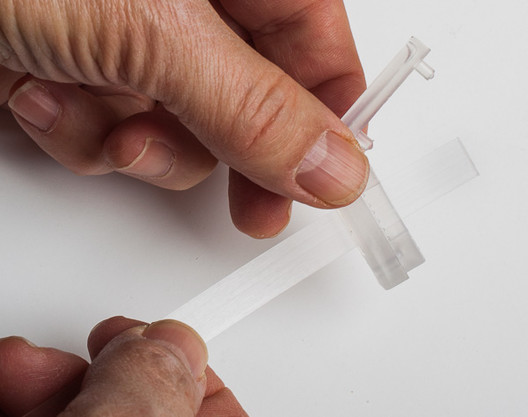
Cut the length of tape you need from the roll and slide one end through locking capsule/slider.
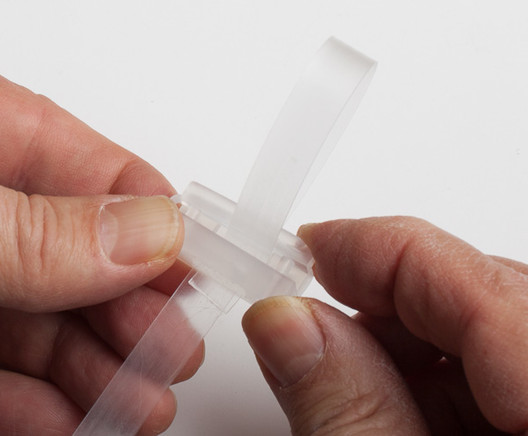
Loop the tape back through the same slot and close the locking arm (tape must loop in the correct direction to lock securely as explained in installation directions).
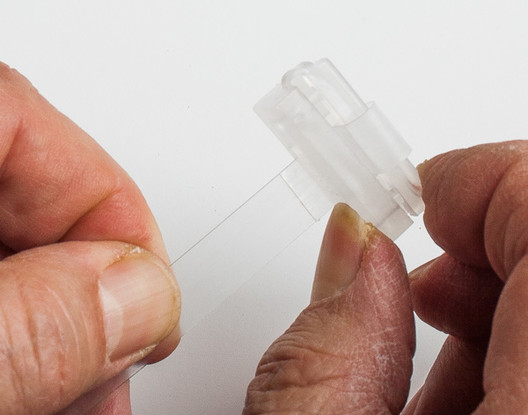
Pull tape down to secure locking arm. The more weight you put on the tape, the tighter it will grip in the locking capsule.
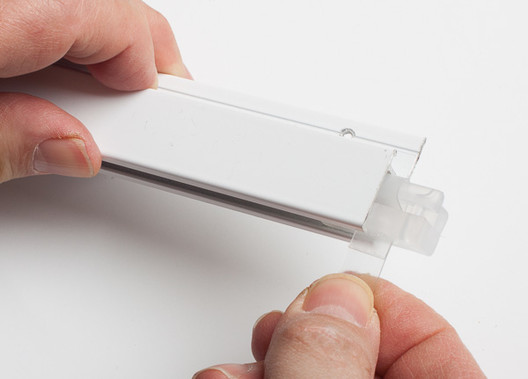
Insert hanger into the track from one end and and slide it to any position along the track.
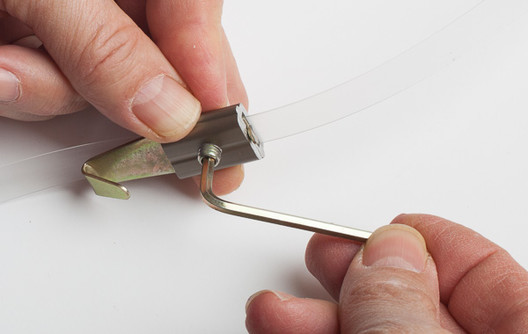
Slide picture hook up to proper position on the hanger, then tighten with the allen wrench.
You can put more than one hook on a cable.